FPP
How to use FPP (Falcon Player) with PulseMesh.
The PulseMesh plugin supports all versions of FPP from 7.0 through version 9.x. If you are using an FPP version prior to 7.0 you must upgrade before proceeding.
This page describes how you can connect FPP (a Linux based show player) to PulseMesh to play synchronized audio in realtime via the PulseMesh mobile app.
Setup
Enable Multisync on FPP
Navigate to the MultiSync page of your FPP under the Status/Control menu. Find the checkbox for "Send MultiSync Packets" and check it if it is not already enabled.

Install the FPP Plugin
Navigate to the Plugin Manager under the Content Setup menu. Find "PulseMesh Connector" in the list or use the search box to find it. Click the install button and let the install run.
Let the install run into you see Done shown at the end. If you see a failure instead, please capture and share the log.

Restart FPPD
Following the installation of the plugin you should be prompted to restart FPPD, click the button to do so.

At this point the installation is complete. In the following steps we will configure the connector to attach it to your display in PulseMesh.
Register for a PulseMesh Account
Register if you don’t have an account yet.
Fill in Display Details
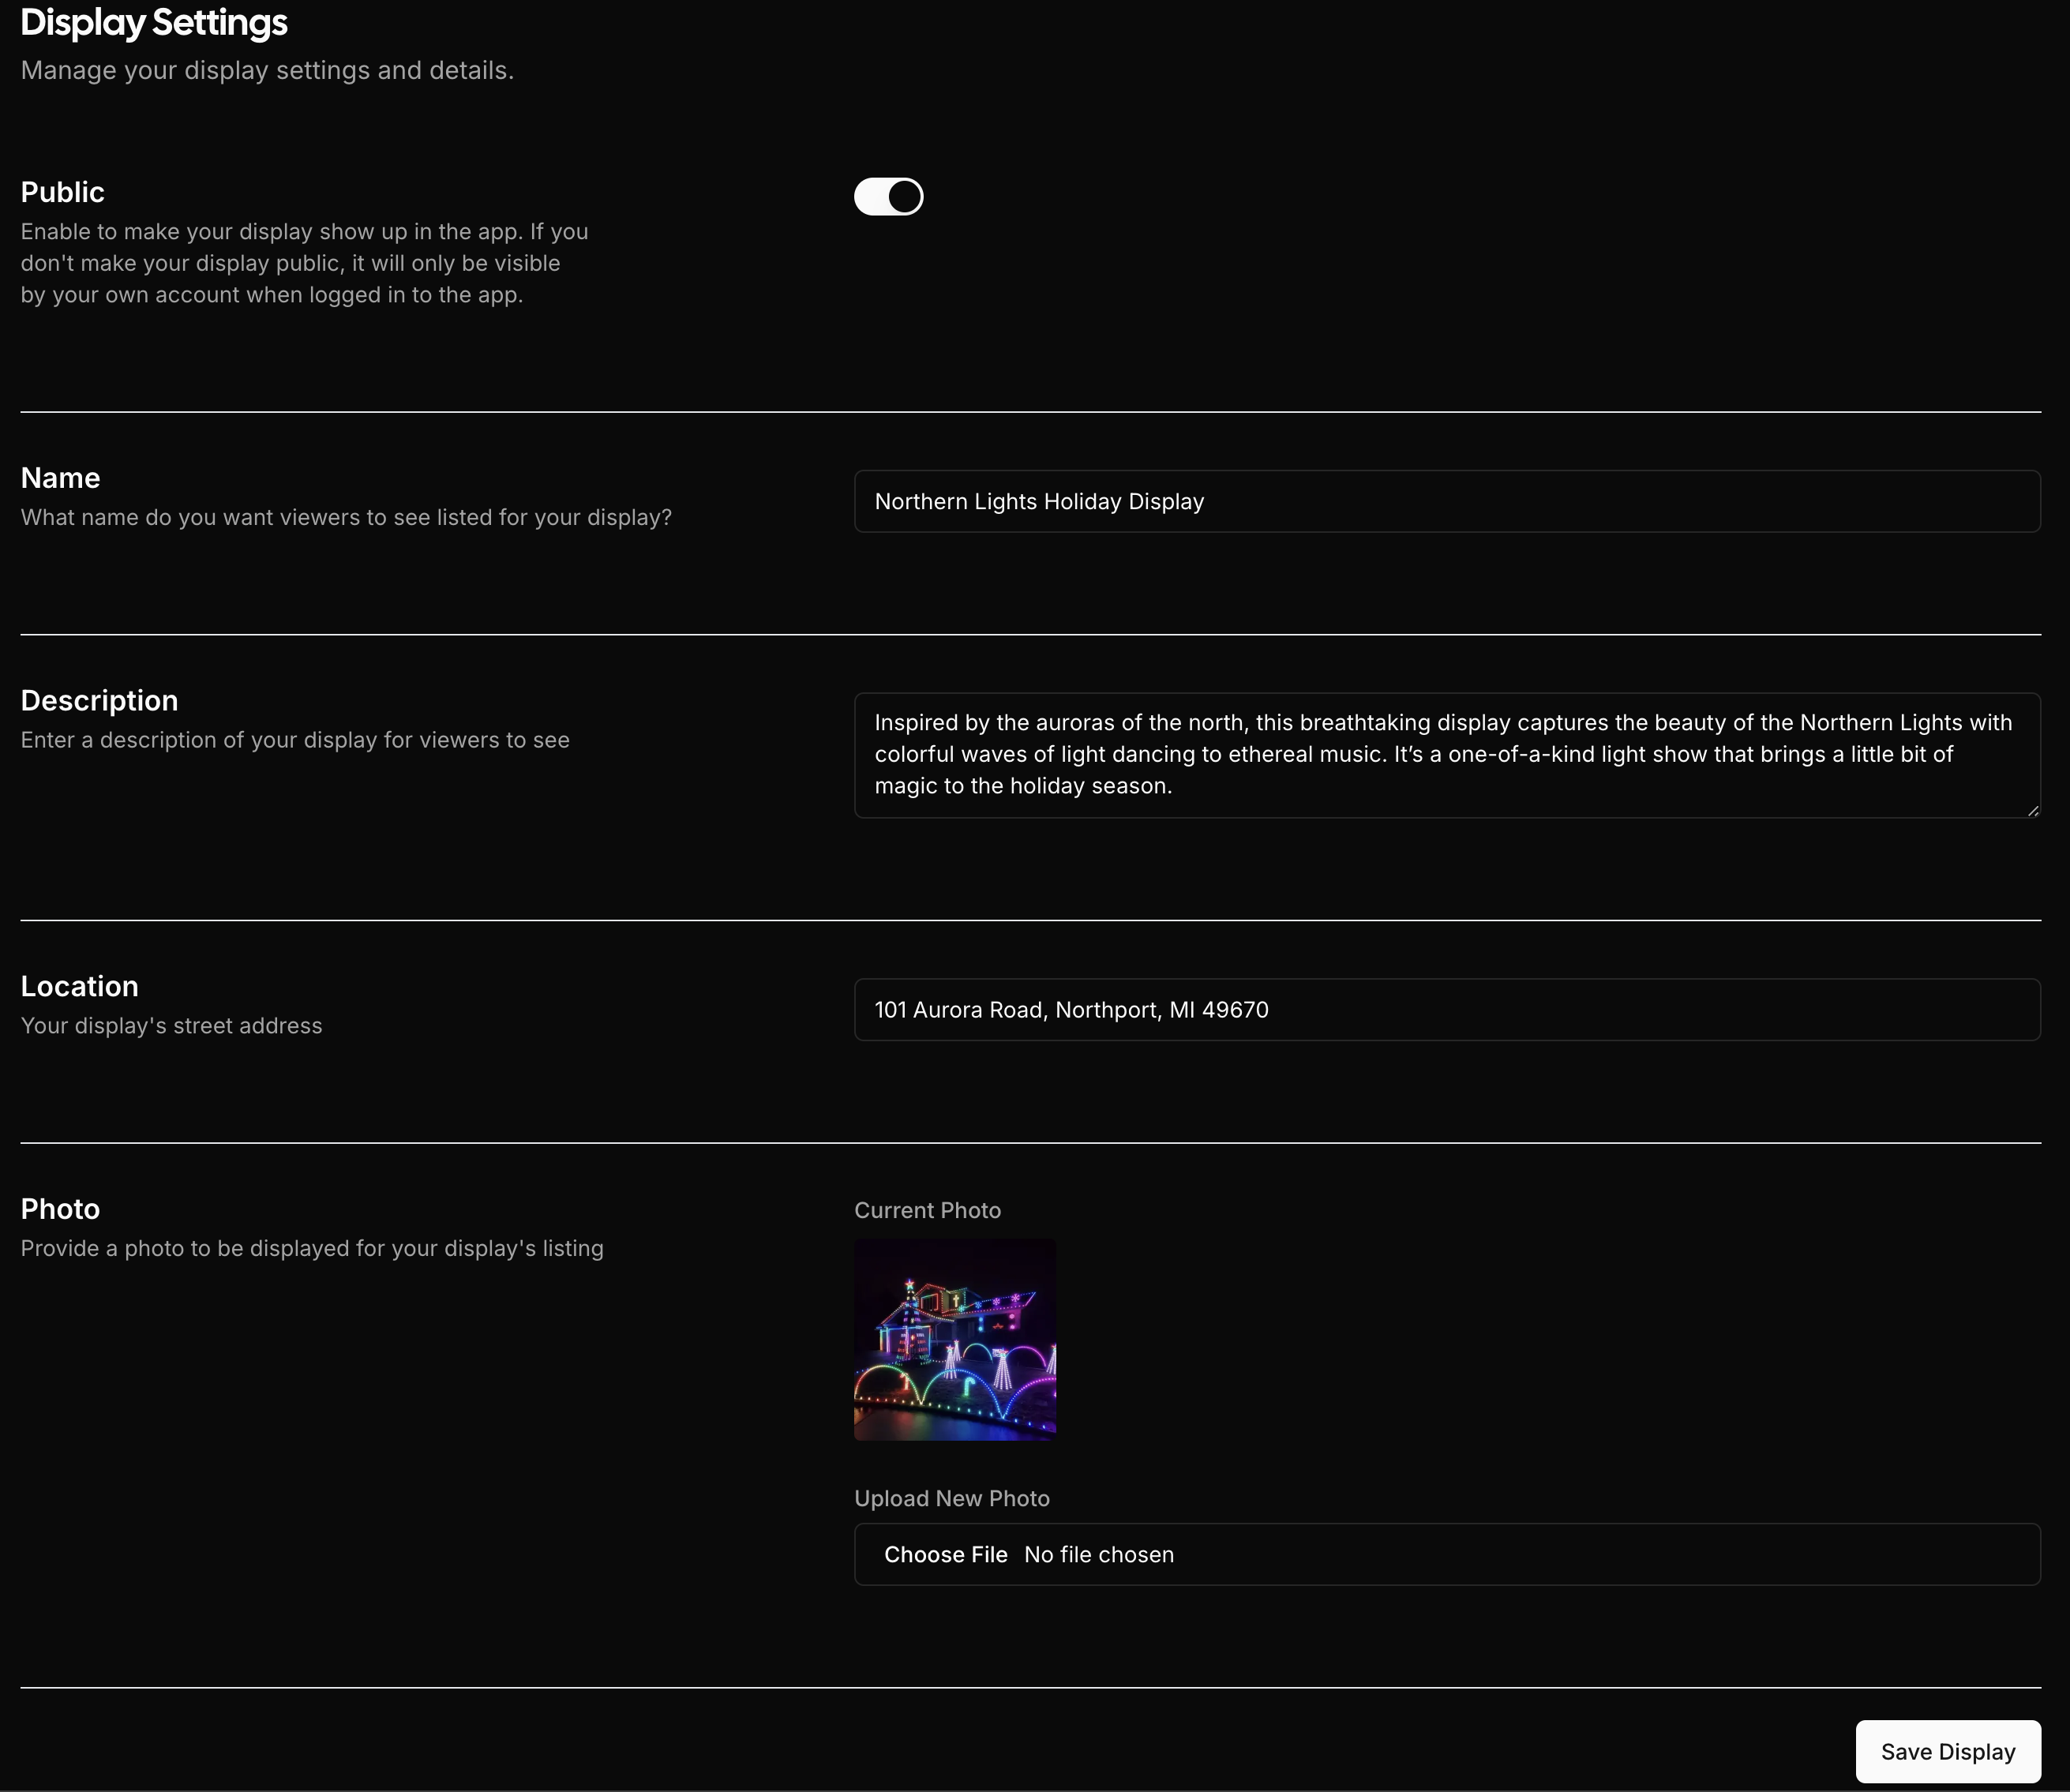
Once logged in, navigate to the Display section. Here, you'll need to fill in the details of your display, such as the name, location, and any other relevant information. This information is used to create your display's public entry in the PulseMesh app.

Create a Connector
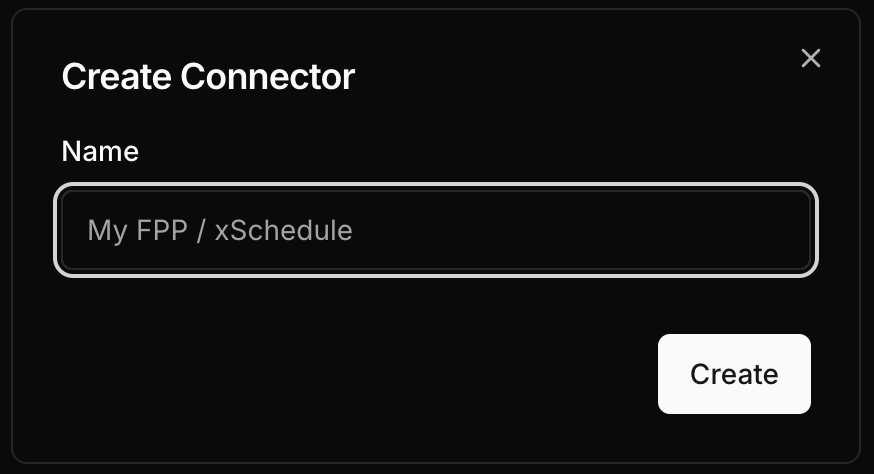
Next, go to the Connector section. Click on "Create new connector" to generate a new connector for your display. The name is for your own reference only and is not shown to viewers. This connector will represent your FPP device to PulseMesh.

Copy the Token
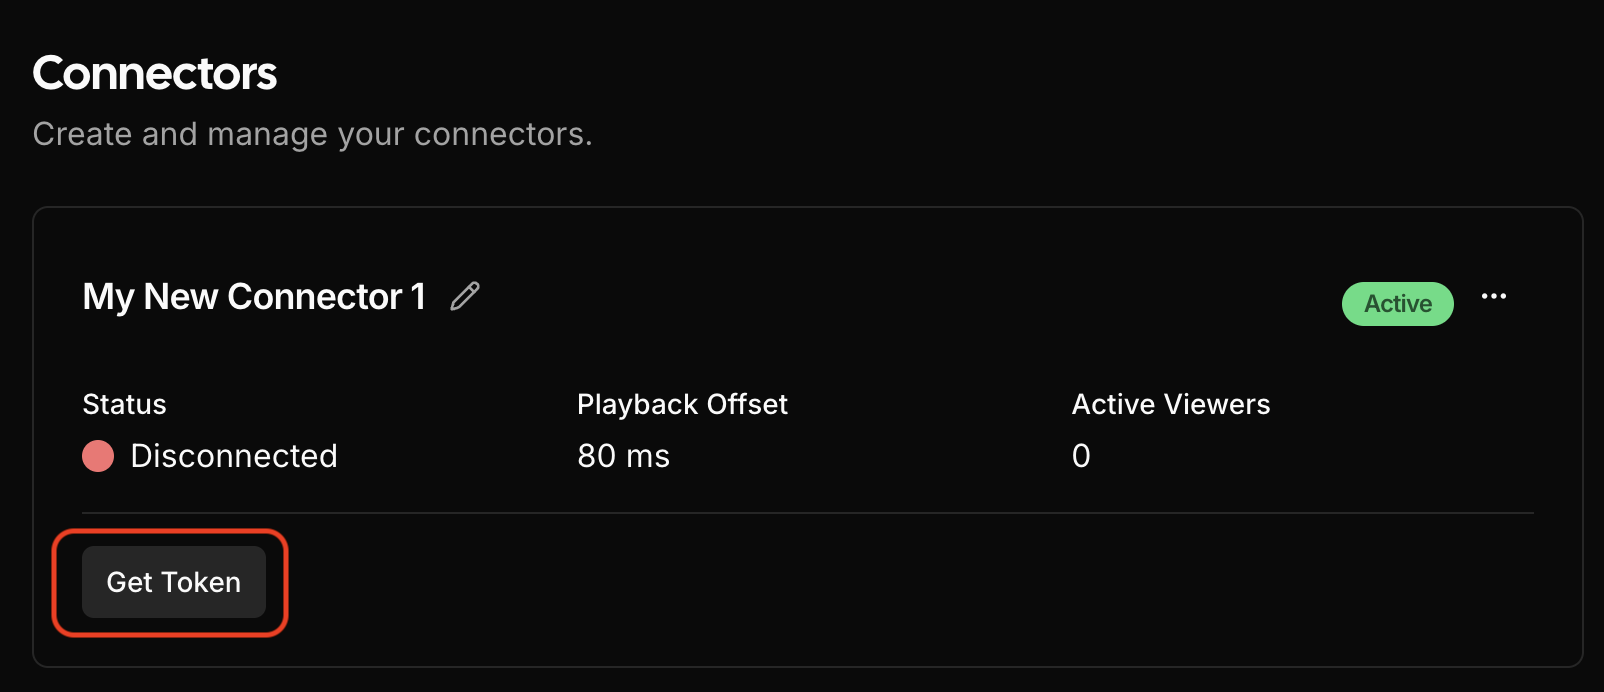
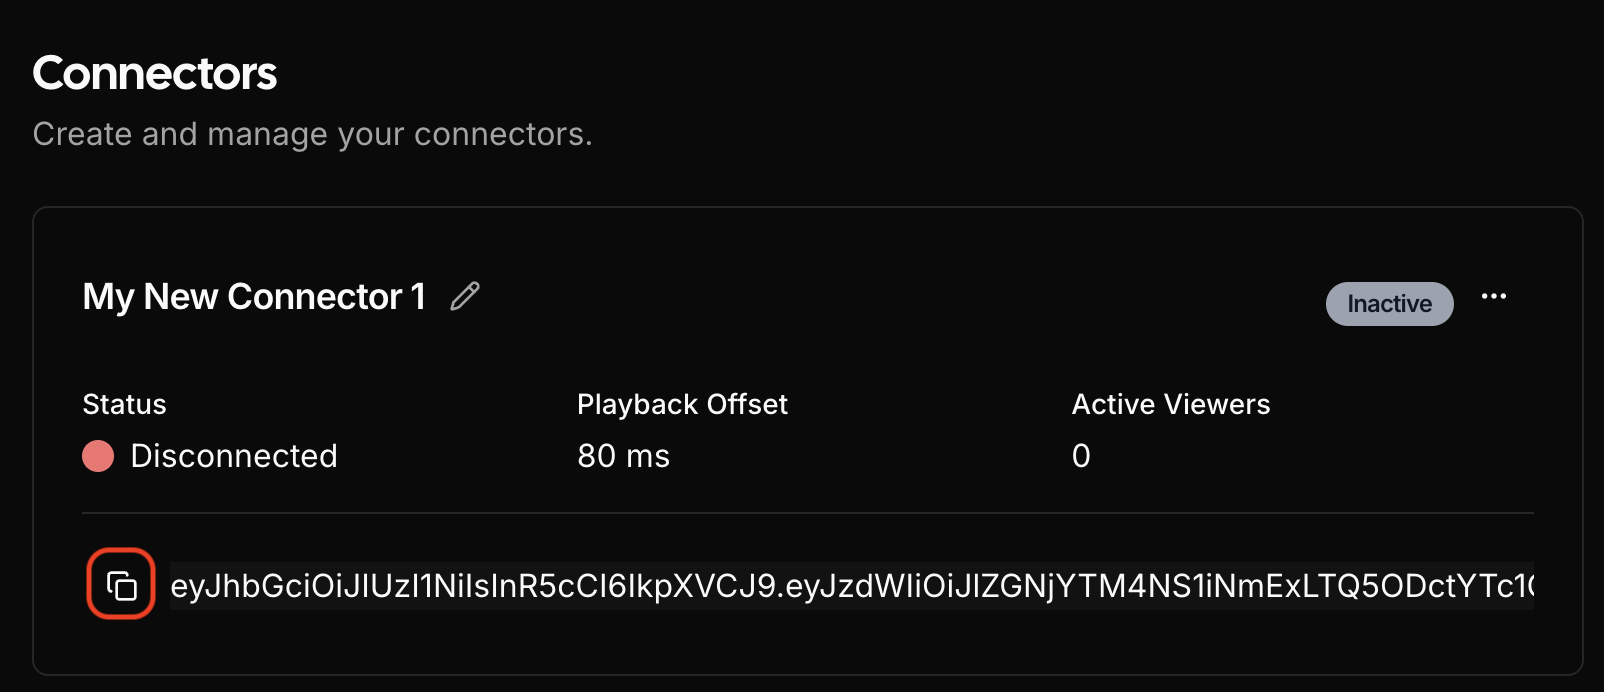
After creating the connector you will see a button at the bottom of the connector card that reads Get Token. Click the button and the token will be revealed. Either click the copy button at the far left or select the token and copy it.
First, get the token.

Then copy the token to your clipboard.

Paste the Token into PulseMesh Configuration
In the FPP interface navigate to Content Setup > PulseMesh to open the PulseMesh configuration page. Paste the token you copied into the Token field and click the save button.
At this point FPP should be connected to PulseMesh. You should see the connected status above the token field change to "Connected".

Confirm Connection (optional)
You can also return to the Connector page to see your newly connected FPP now has a status of Connected, indicating that the setup is successful. Refresh the page if you don't see the Connected status.
Test it out
Start playing a sequence on the FPP, then open the PulseMesh app or the PulseMesh web player to hear the playback.
Note - if you don't hear playback through the app immediately that could be because your audio files are still being processed for playback. You may want to wait 20 minutes and try again. The more files you have, or the slower your upload speed, the longer the processing may take. You can monitor this process at Content Setup > PulseMesh by viewing the number of "Files Pending Upload" in the Debug Information section.
Consider Joining the Facebook Group
There's an active Facebook community dedicated to discussing PulseMesh.
Docker Specific Notes
Running the PulseMesh connector inside an FPP docker container is fully supported. There is one additional step required if running in docker - you will need to expose port 8089 ("8089:8089/tcp") from the container to be able to visit the PulseMesh admin/debug page.
Troubleshooting
If things aren't working after following the steps above, please review the solutions below. If you continue to run into issues, feel free to reach out to us at [email protected].
Connector doesn't show connected status
If the connector remains in a disconnected state after adding the token then investigate the log file. To view the log file visit the PulseMesh setup page in the FPP interface under Content Setup > PulseMesh and look at the log file in the Debug Information section. This should give you an indication if the token was copied incorrectly ("Authentication failed" error) or if some other issue exists such as a lack of internet connectivity.
One or more songs are not being played through the app or web player
Open Content Setup > PulseMesh. In the Debug Information section check if "Files Pending Upload" is 0. If it is not, wait until the upload process is finished and try again.
Your display doesn't show up on the app or web player
Ensure your display is set to Public on the Display page. If public is not toggled on you display will not show up in any of the players. Also ensure you have provided the correct address for your display.